

Azure: Hosting a static website for free with Azure Static Apps
Are you struggling with complex website setups? Azure Static Apps can simplify the process! This guide will show you how to deploy and manage an essential website directly from your GitHub repository using Azure Static Apps. Get your website up and running quickly, and keep maintenance accessible.
An Azure account is required to use Azure Static Apps. The good news is that you can sign up for a free Azure trial, which includes $200 credit to use within the first 30 days. Remember that a credit card still needs to be on file during the signup process, but no charges will occur unless you exceed the free tier usage or forget to cancel the trial before it ends.
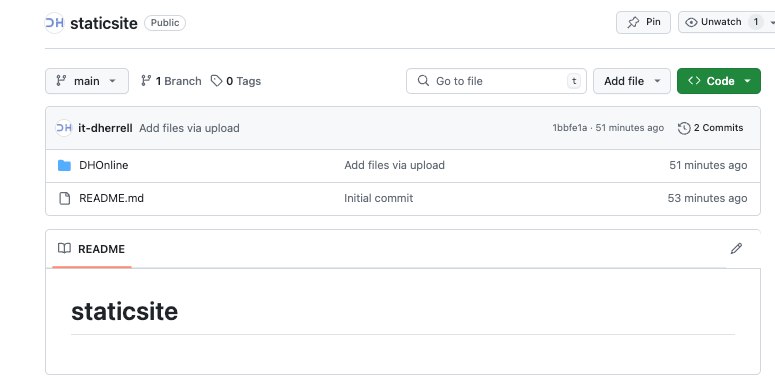
First, you want to place your HTML files, CSS, etc, for your static site within GitHub. The files can be placed within a Public or Private repo; it doesn’t matter. In this example, we’ll use my GitHub staticsite public repo. Once your files are uploaded to your repo, it’s time to set up your Azure services.
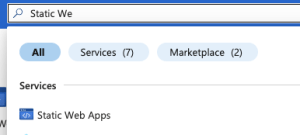
With the Azure portal, or portal.azure.com , search the top bar fro “Static Web Apps”.
Click the Static Web Apps to go to the module. Click the Create button within this area to start the Static App build.
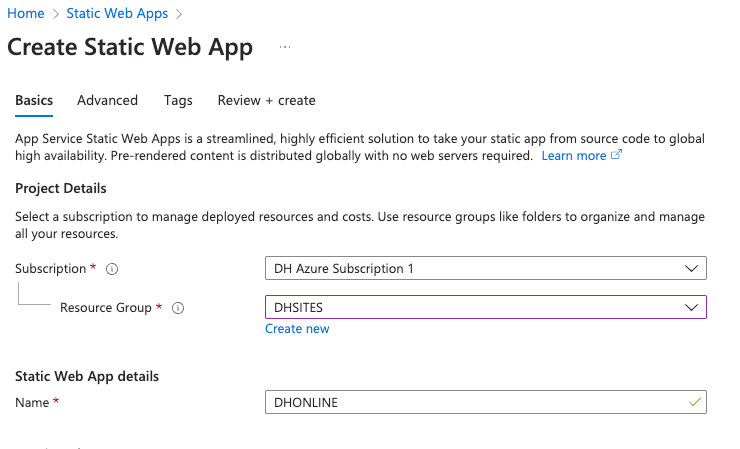
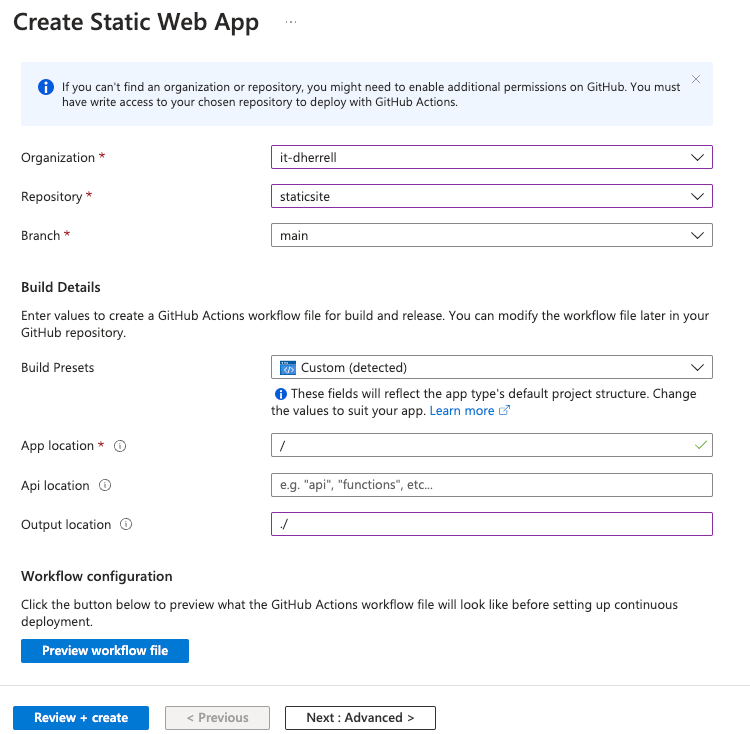
Choose your Subscription and Resource group. After, choose the name of your app. This can be anything. We’ll call this one DHONLINE (pretty creative, right?).
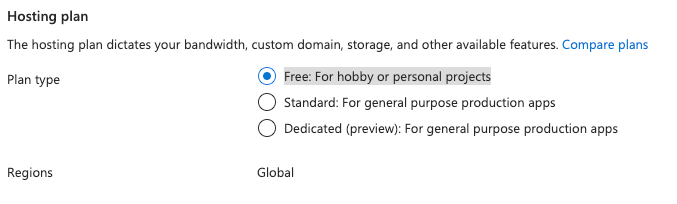
Next, under the Hosting plan, choose the plan that says “Free: For hobby or personal projects.” The Region will default to Global, which is perfect. This app will utilize a CDN so that it won’t matter much.
Next will be the deployment details; remember, we have uploaded things to GitHub already. Choose GitHub as the Source. You will then be prompted to connect your account; this process is straightforward. Once connected, it will show a similar picture to the pic below.

Next, select your GitHub Organization, typically the only one on your account, and choose the repository you created. Generally, for the Branch, you will leave selected as main.
If you are hosting multiple file types for build Presets, just select Custom. I typically choose this as the default, even if the files are only in HTML.
Last, choose your App location. Sometimes, this will autofill for you; if not, it should be something like ./DHOnline or the folder in which you have your HTML files. You can leave the Api location blank. Since we’re not changing anything for the Output location, just type ./ within the selection box
Example of my setup:
If everything looks good, you can click the Review + Create button. Verify everything looks good, then click Create. This typically takes about 1-2 minutes to build.
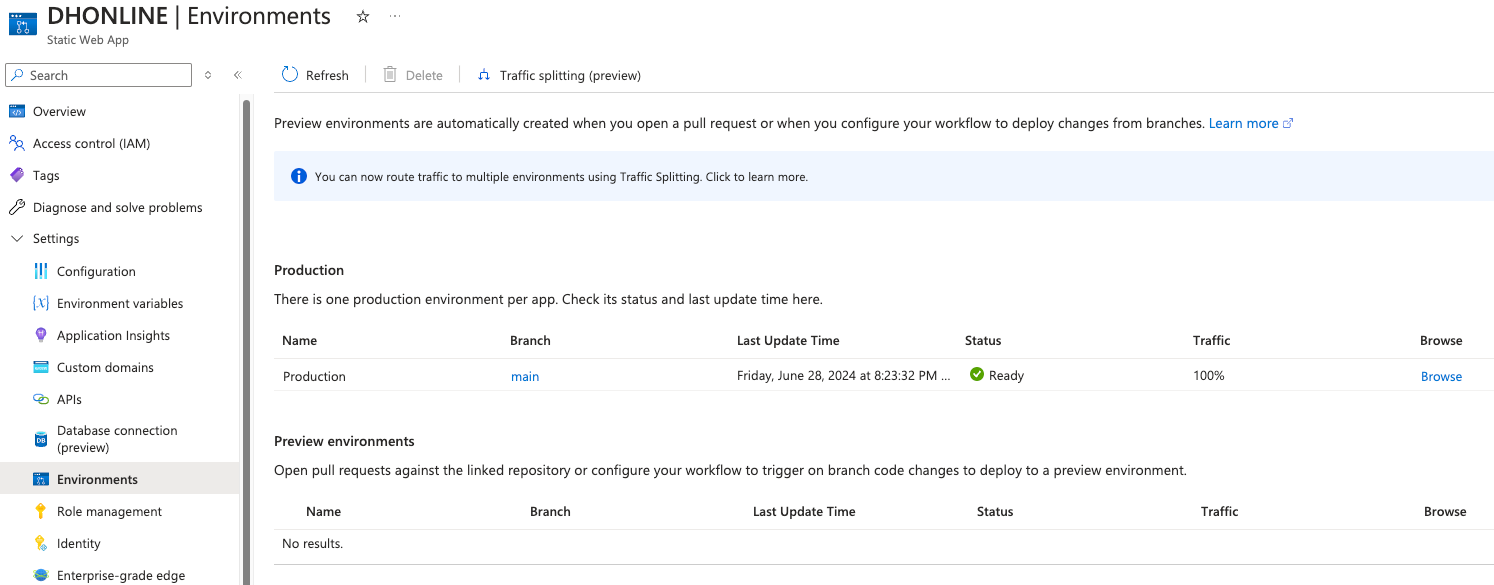
Once built, click the Go to Resource button. This will take you to your new static app. Under the Settings tab, you can choose Environment to see the progress of the app pull from GitHub. We’ll go over more of what happens in GitHub in a few.
This looks like once the app has pulled its files from GitHub and synced.
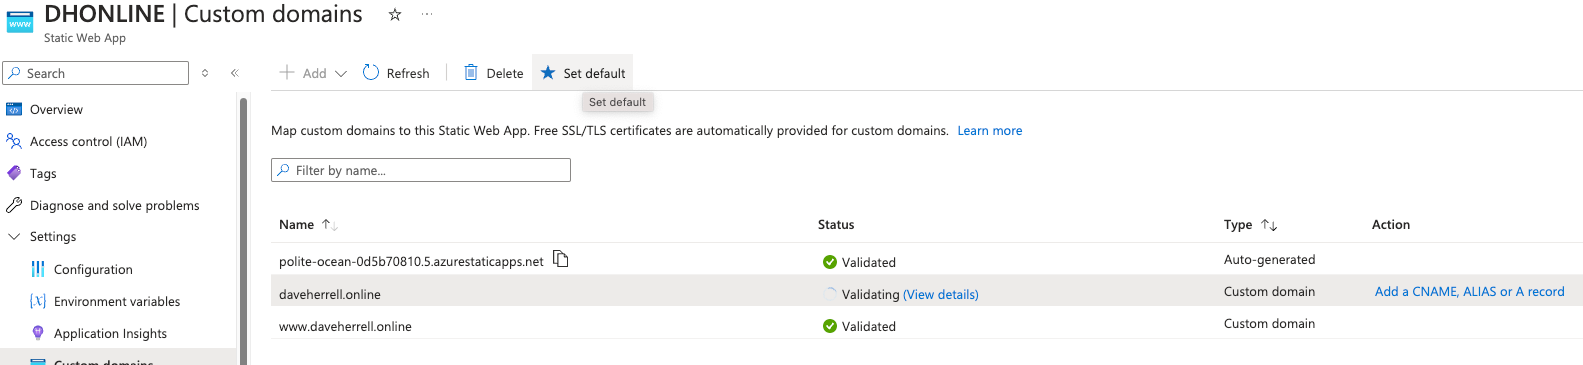
So, how do you see your new website? Click on Custom Domains under the Settings tab. There, you will see the static URL of your current app. If all goes well, you can place that URL in a browser and visit your website.
Custom Domain Setup
But Dave, I don’t want to use that awful URL; I want to use something like daveherrell.online. Well, you can do that too. You can have up to two custom URLs connected to each Static App. Here is how you can easily set that up.
Click the Add at the top within the Custom Domains area within your Static App. If you’re not using Azure DNS, choose another DNS. This will expand the setup.
Next, enter your domain name. I’ll be using daveherrell.online. Why? Because the domain is only $1.99 on Namecheap and only $3.99 to renew, it is nice and cheap. After you enter the domain name, click Next.
You will receive a TXT record you need to enter wherever you host your domain’s DNS. It may take up to 10-15 min to verify your domain. While waiting, you can set up your A and/or CNAME records. You can find them under Action at the end of the domain you just entered.
![]()
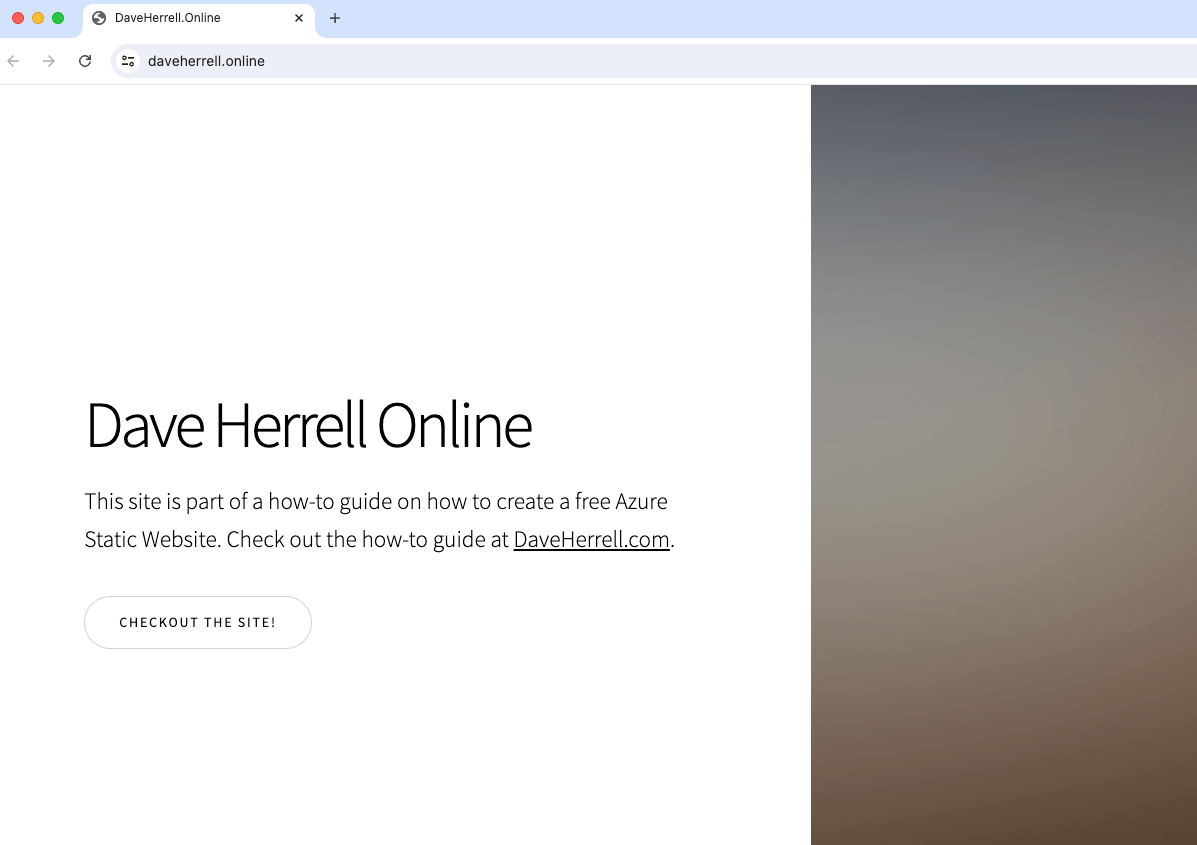
Once your domain validates and you have set up your A or CNAME records, go to your custom domain name and check it out.
In case you haven’t figured it out, once you validate the domain, this also creates a free SSL cert for your domain!
You can check my site out: https://daveherrell.online
The files for this site can be found complimentary at https://html5up.net/
In the last step, click the domain within the Custom domains and click Set default on the top option list once validated.
That’s all there is to it! It looks like a lot when written, but this can take less than 15 minutes to create. Now, updating anything within the GitHub repo will automatically update your new Static App. Remember, Azure pushes this out via their CDN, so it may sometimes take 2-3 minutes to update.
Last thing to note: using the free static app plan, you can host up to 10 static sites per subscription. Afterward, you must pay for the standard setup or create a new subscription.
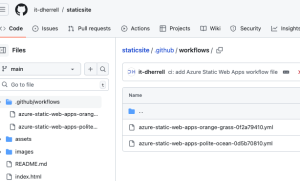
GitHub Side
Let’s briefly go over what’s going on within GitHub during this setup.
Creating a Static App through GitHub involves some automatic setup to streamline future updates. Here’s what happens:
Workflow Creation: When you successfully create your Static App, GitHub creates a workflow file named “workflow.yml” within your repository. This file automates the process of pushing updates to your Azure Static App.
- Hands-Off Maintenance: There’s no need to modify this file manually. It’s pre-configured to handle future changes.
- Secure Storage of API Keys: Another benefit of this setup is secure storage. During the creation process, your API keys are automatically saved in your GitHub repository’s settings under “Secrets” as a Repository Secret. This keeps your keys hidden and prevents accidental exposure in your code. Just like the workflow file, there’s no need for manual configuration – it’s all handled automatically.
It’s a convenient way for Azure to ensure security without any extra steps on your part, isn’t it?
Hope you find this helpful!
![]()