

Slack: Retrieve Entra ID (MS365) User Information with a slash command.
- Log in to the Azure Portal.
- Navigate to Automation Accounts:
- Search for “Automation Accounts” in the search bar.
- Click + Create to set up a new Automation Account.
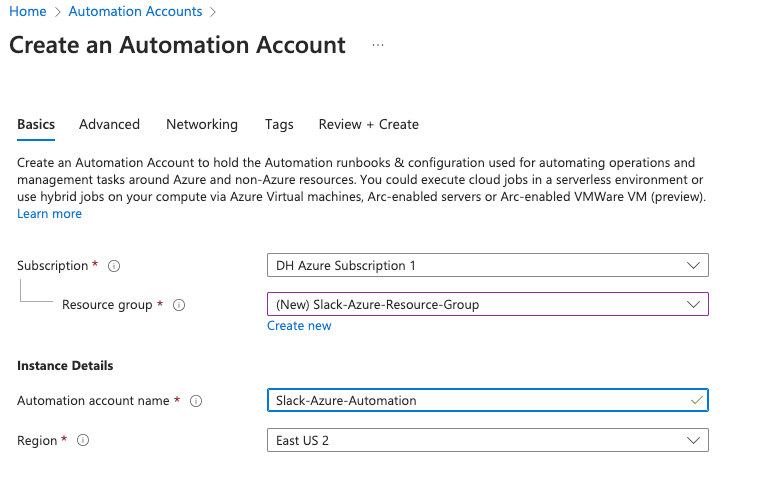
- Provide the required details:
- Subscription: Select your Azure subscription.
- Resource Group: Choose or create a resource group.
- Name: Enter a name for your Automation Account.
- Region: Select your preferred region.
- Click Next
- Under Advanced, choose System Assigned under Managed Identities. We will go over why this may be your best option later.
- Networking tab, ensure you have public access enabled for your connectivity configuration.
- Setup your Tags (Highly recommended for housekeeping).
- Click Review + Create and then Create.
After your Automation Account has been created, Go to the resource.
Create the Azure Runbook
Time to set up your new runbook. Under the Process Automation blade, click the arrow to expand and choose Runbooks.
- Next, click + Create to create a new runbook.
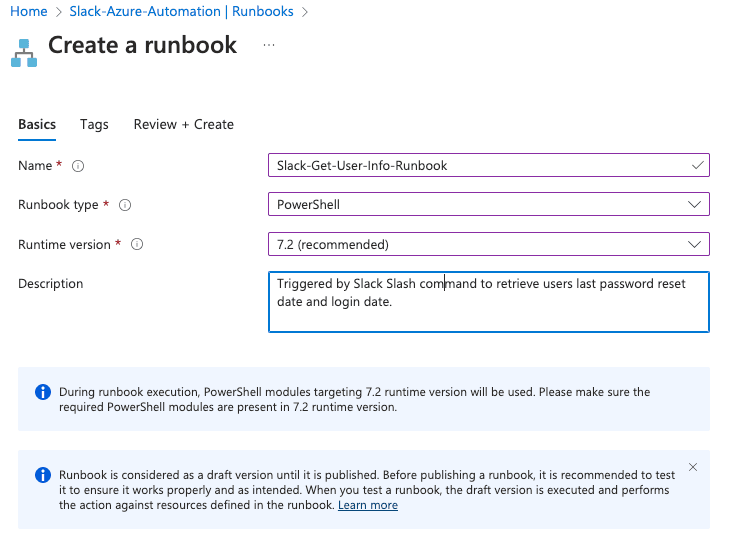
Provide the needed details
- Click Create new.
- Enter a name for your runbook.
- Select PowerShell as the runbook type.
- Choose ‘Select from existing’ for the runtime environment and select PowerShell-7.2 (or the latest release). This will be necessary to use the MS Graph API.
- Add a description for your runbook.
- Optionally, add tags to categorize your runbook.
- Click Review + Create.
- Once validation is complete, click Create.
- Allow 2-3 minutes for the runbook to be created.
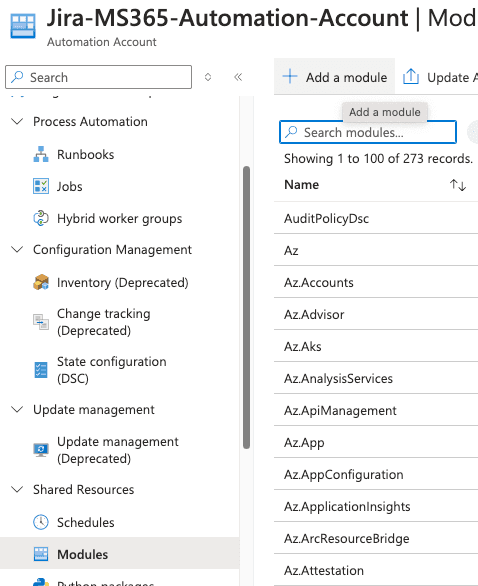
The runbook will need specific PowerShell modules that aren’t installed by default.
To add them:
- Click the + Add a module button at the top.
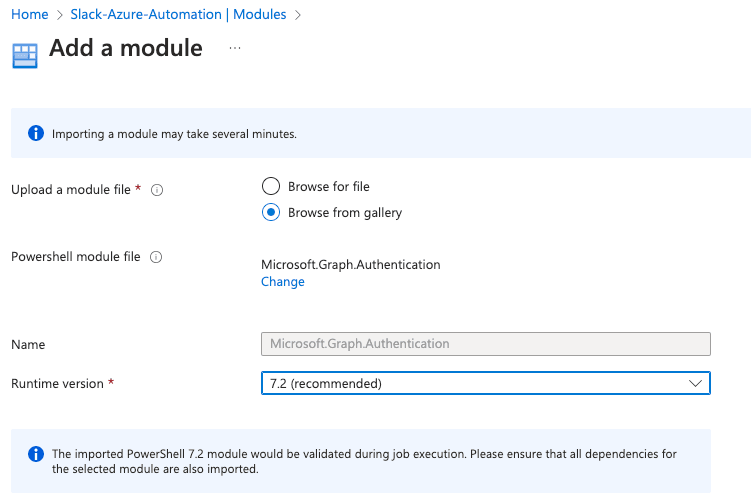
- Click ‘Browse from the gallery.’
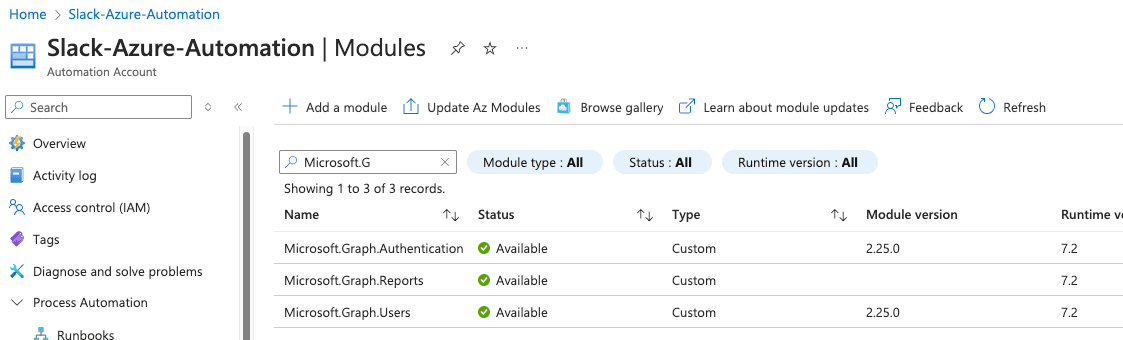
- Search for ‘Microsoft.Graph.Authentication’ in the module gallery.
- Select the latest version of the module.
- Click
- Choose the latest runtime version for your module.
- Click Import.
It might take around 2-4 minutes to import the Microsoft.Graph.Authentication module. You can check its progress by searching for it in the module gallery. Once it says Available, you’re ready to use it. We need to add two more modules, you can add these while the others are provisioning.
Add these other modules:
Microsoft.Graph.ReportsMicrosoft.Graph.Users
Verify the status on the modules, once they say Available you are good to go.
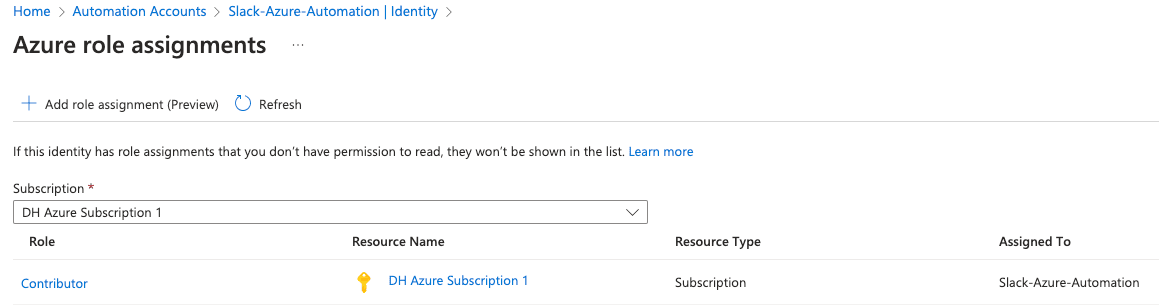
To enable your runbook to read users login and password reset time stamps, we need to grant it permission to the Azure subscription:
- Go to Account Settings, choose Identity.
- You’ll see a system-assigned managed identity is already enabled.
- Click Add role assignment.
- Set the scope to your Azure subscription.
- Assign the Contributor role (or create a custom role with necessary permissions which is recommended).
The Cloud console will run. Choose A for Yes to All to install all the required Graph modules. This will run for a few minutes.
It will then prompt you to Sign into a web browser and enter a code. Simply copy the URL (or you can click the URL) and type the code into your browser.
- Enter the code to allow access. Click Next.

- The next screen will ask you to sign into your account to verify.
- After you log in, you will need to consent on behalf of your company to give permissions to the Graph Command Line Tools. If you are okay with this, click Accept.

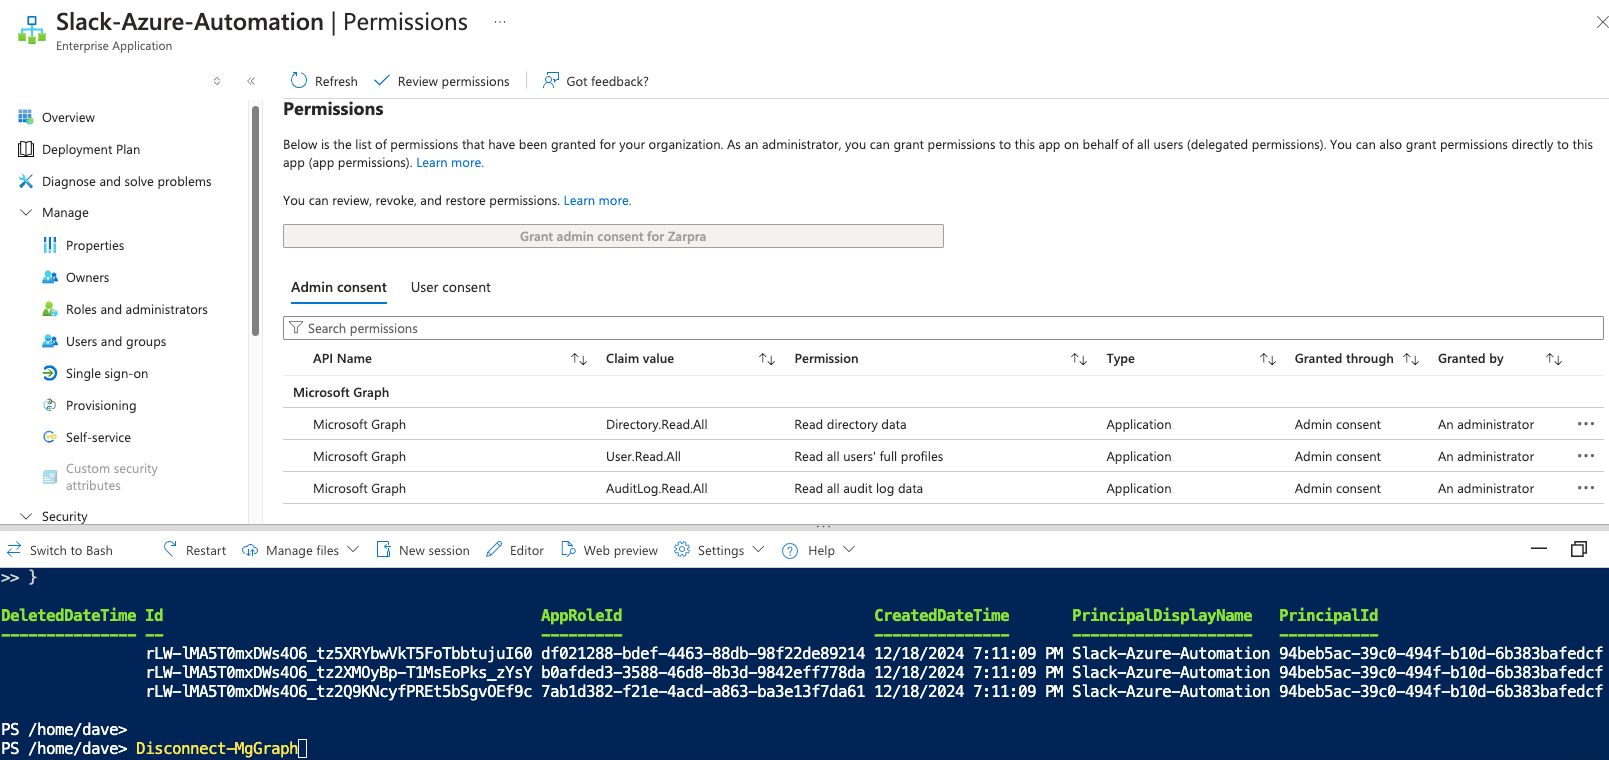
You can now close the tab where you granted admin consent. Return to the tab where your Azure Cloud Shell is running. The permission grant process should be complete, and your cloud shell should be disconnected from Microsoft Graph.
To verify that the permissions have been added successfully:
- Navigate back to the Permissions tab of your enterprise application.
- You should now see the new application permissions listed, with admin consent already granted.
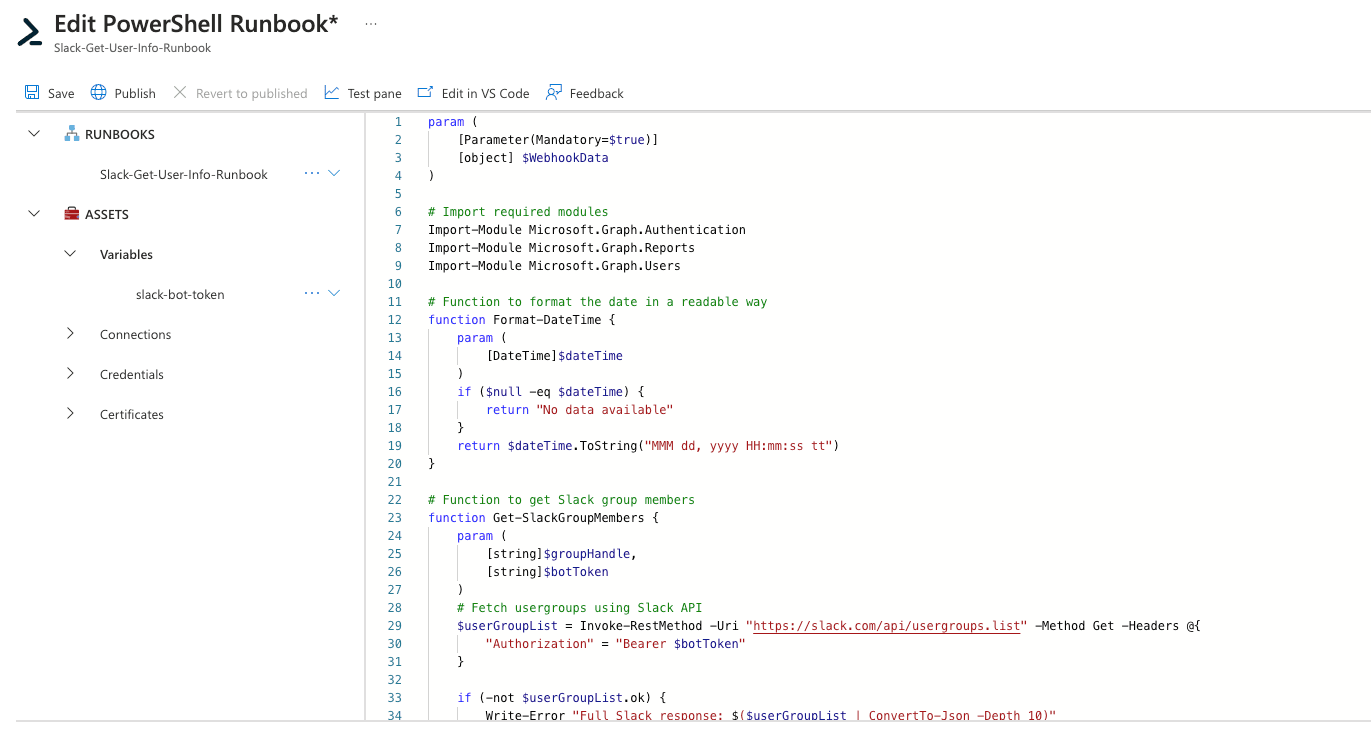
Create Encrypted Slack Token Variable
Before we add our PowerShell scrip to our Azure runbook, we will create a variable placeholder for our Slack OAuth token, or bot token. We’ll get this from Slack, but while in Azure, let’s set up the variable.
Find your Automation account that hosts the runbook you just created. Under Shared Resources, click Variables.
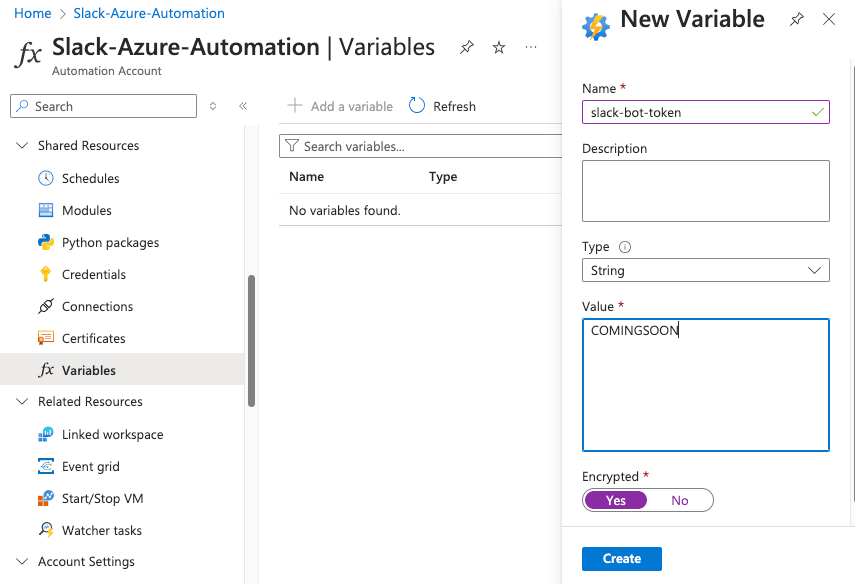
- Click + Add a variable
- Choose the name. We are choosing
slack-bot-token. If you prefer something different, update the PowerShell script I’ve provided with the variable name. - Type, choose String.
- For the Value, put anything; we will return and update this.
- For Encrypted, choose Yes.
- Click Create.
Click Save. Click Publish. If you dont Publish the runbook it will stay in edit mode, Automation will not be able to work with the runbook.
Next step is to create a Webhook for the runbook. Make sure you are in the runbook Overview. You can tell by your breadcrumbs at the top, the should say something like: Home > Automation Accounts > Slack-Azure-Automation > Runbooks.
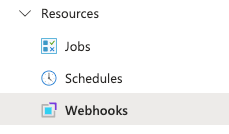
In the left side, expand out the Resources blade, choose Webhooks.
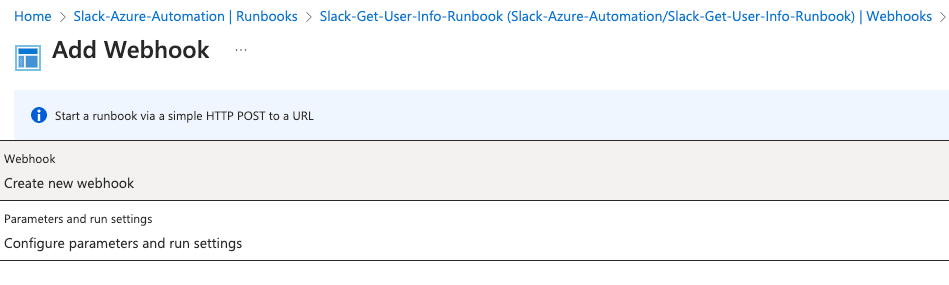
- Click the + Add Webhook. Note: if you dont see this or if it’s greyed out, you havent Published your runbook yet. The runbook has to be published before you can create a webhook for it.
- Choose the Create new webhook option first.
- Set the Name of your Webhook.
- Make sure Enabled is set to Yes.
- Set your expiration date/time. The defaults is set for a year.
- Copy the Webhook URL. Make sure you do this before clicking OK. This is the only time you will see this again and you need it. Copy it somewhere secure to later use within your Slack app.
- Click Ok.
This will take you back to the Add Webhook Screen.
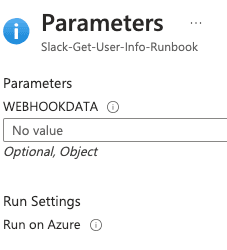
- Choose Parameters and run settings.
- Make sure there is nothing in the value for the WEBHOOKDATA, just click OK.
- Click Create.
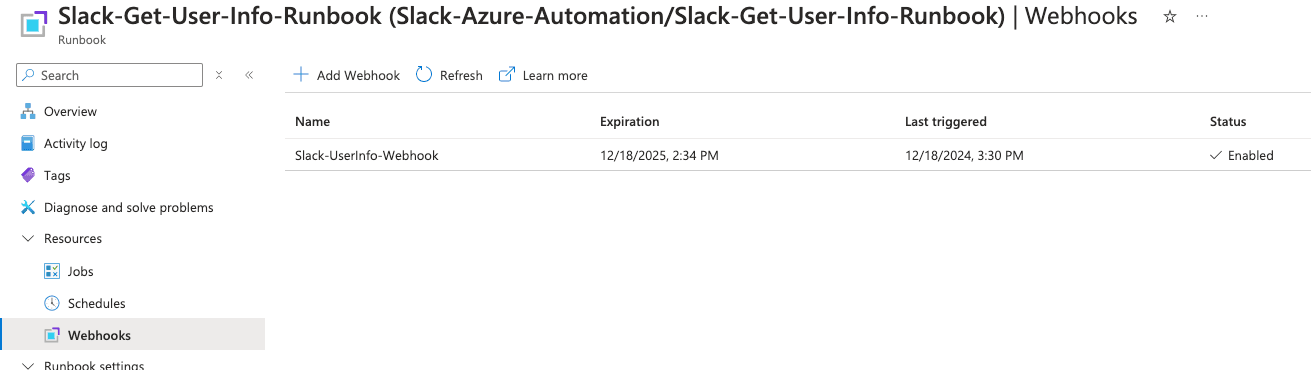
You should now see your Webhook created, expiration date, last triggered and status.
Setup Slack Application and Slash Command
We’re almost there! We need to setup our custom Slack application and slash command that will trigger things. You must be a Slack administrator or at least have the correct permissions to do this.
- Go to your Slack application site: https://api.slack.com/apps
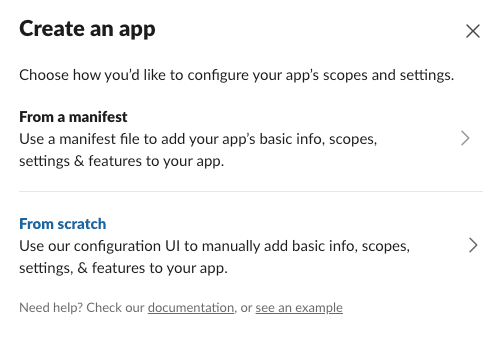
- Click Create New App.
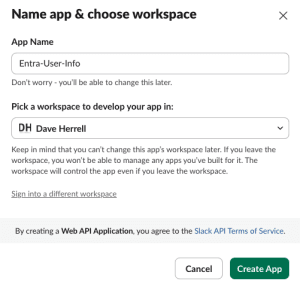
- Next, Name your App and choose your Workspace that app will be triggered in.
Next, we’ll setup the slash command. This is how user will interact with our application within Slack.
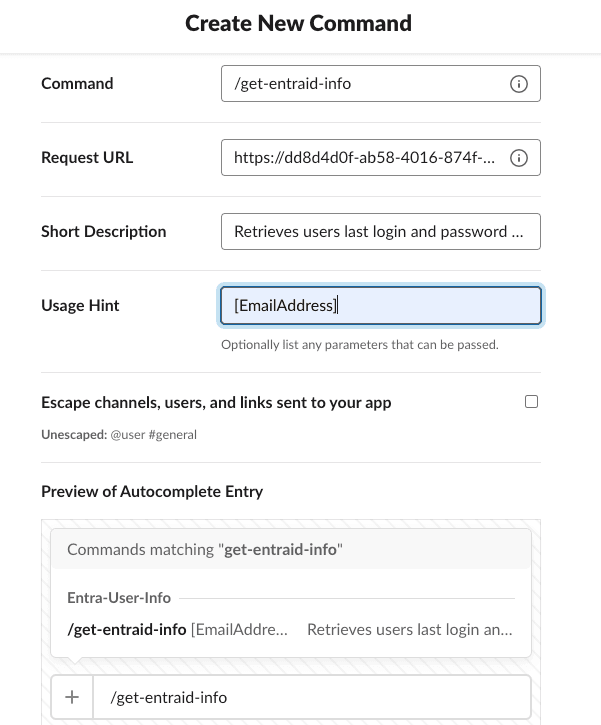
- Choose, Create New Command.
- Choose the Command that will trigger the app. I’m using
/get-entraid-info. - For the Request URL, past your Azure runbook webhook that you copied and saved.
- Create a Short description. Handy to let users know what this command will be doing.
- Create a Usage Hint. We are using
[EmailAddress]this gets appended to the use info to let them know the format you expect. - Click Create.
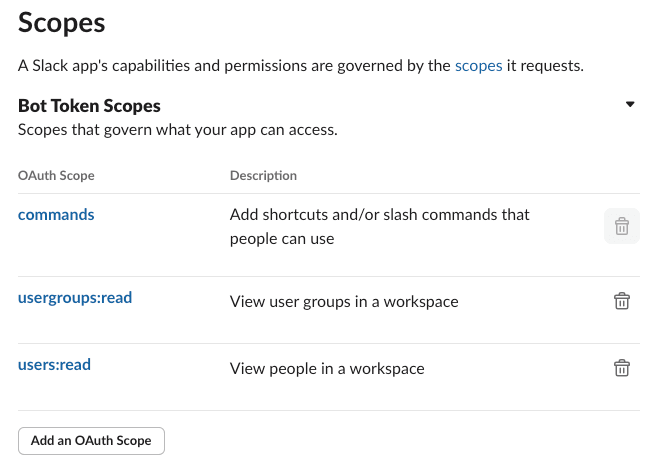
We need to give our Slack application permissions to see users names and read what Slack groups they are a member of.
- Click the OAuth & Permissions to the left under Features.
- Scroll down to Scopes.
- Click Add an OAuth Scope.
- Search for the following and add them:
users.readusergroups.read
- These should automatically save to the application.
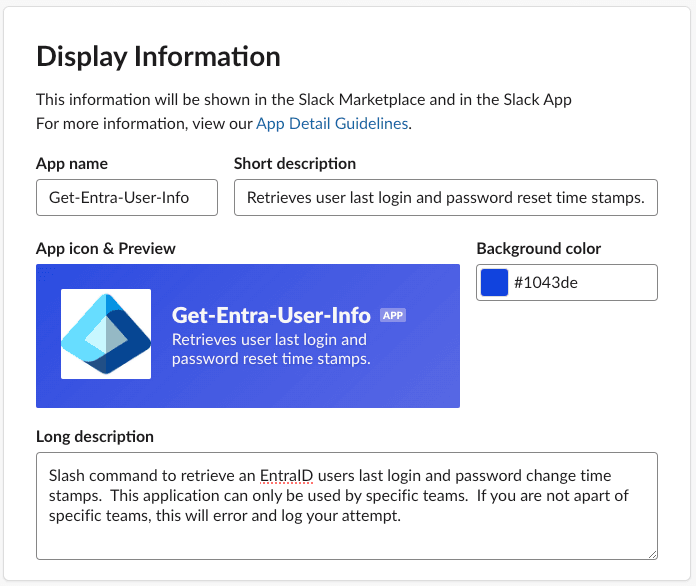
- Under Settings, Basic Information.
- Scroll down to Display Information and update.
- Create the App Name
- Short Description
- App Icon
- Background Color
- Long Description.
- Click Save Changes at the bottom
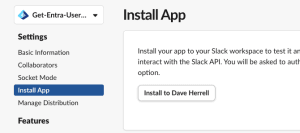
Two more steps, next we need to publish, or Install this application to our Slack instance.
- Under Settings, choose Install App.
- Click to Install to your Slack environment.
This will pop up a validation to Allow the application and the permissions you setup for it. Review and click Allow.
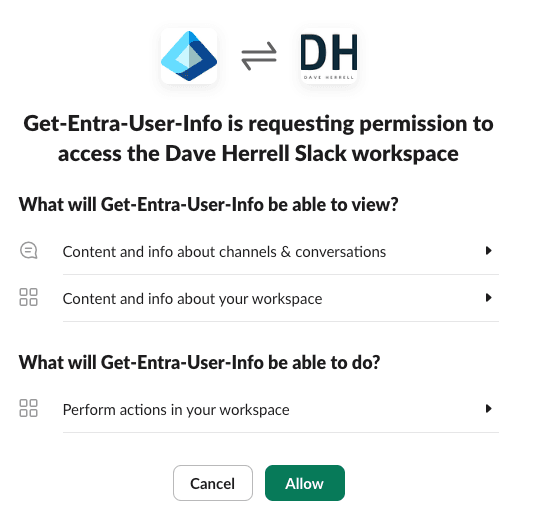
After you click Allow. You will see a newly created OAuth Token. This token starts with xoxb-XXXX. copy this token, we’ll need to add this to our Automation variable.
Update Automation Variable
- Go back to the Azure Portal.
- Find the Automation account you setup
- Under the Share Resources click on Variables.
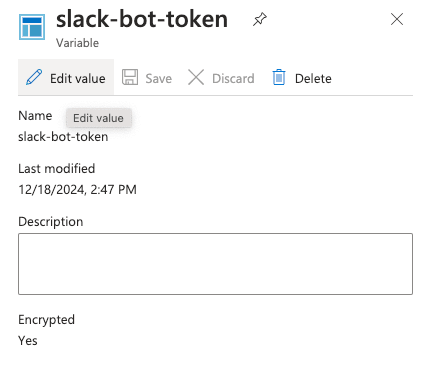
- Click the Variable we created, slack-bot-token in our instance.
- Click Edit Value.
- Copy the OAuth token from Slack to the Value field.
- Click Save.
Time to test our Slack slash command
In any channel you can start the command by entering a slash “/” which will bring up the commands that are available. You can enter in a few more letters after the slash to narrow it down faster. In our case we’re looking for “/get-entraid-info”.
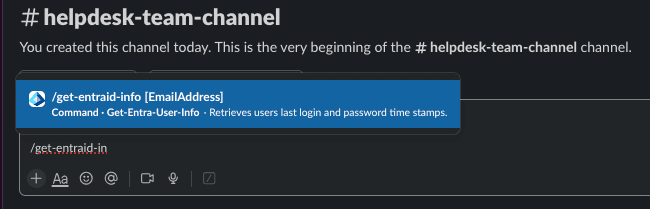
Enter the slash command along with the email of the user you wish to retrieve info about.
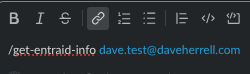
Click enter to trigger the command. This will take a minute. Eventually you will see the users last password change and last login time:
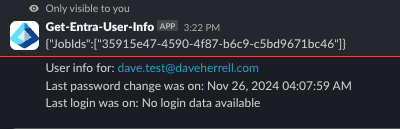
If you go back to your Azure runbook, you will see information on the runbook and if it was completed successfully and more.

We placed a safe guard in our PowerShell script to make sure only the members of Slack group ‘it-team” can run this. So a user that tries to run this slash command without being in this particular group will see something like this:

And that’s our setup. Now you have a guide to setting up a Slack slash command to retrieve Entra ID (formerly Azure AD) user information, including the last password reset and login timestamps. Of course, you can expand the script to fetch additional details as needed. This tutorial focused on the fundamental steps of this integration.
Lastly, consider the potential impact on Azure costs. While you’re granted 500 free minutes of job run time each month, exceeding this limit can increase monthly expenses. Before proceeding, carefully examine the Azure Automation pricing guide to understand the implications.
Creating a custom Slack app with a slash command to trigger an Azure Runbook can significantly streamline access to critical user data and optimize your ITSM operations. Following the steps outlined above, you can empower your team to resolve account-related issues promptly and securely. This integration leverages the user-friendly interface of Slack and the robust automation capabilities of Azure to provide a powerful solution for modern IT requirements.
I hope you found this helpful!
![]()