

MS365 Exchange: Creating a Catch-All Email Box
- Create a Shared Email Box:
- The recommended approach is to create a Shared Email Box for your catch-all. This method is user-friendly and doesn’t incur any additional costs if you have at least one paid MS365 subscription.
- Access Exchange Admin Center:
- Navigate to the Exchange Admin Center by visiting the Exchange Email Transport Rules Area.
- Create a Mail Flow Rule:
- Under the “Mail Flow” section, select “Rules.”
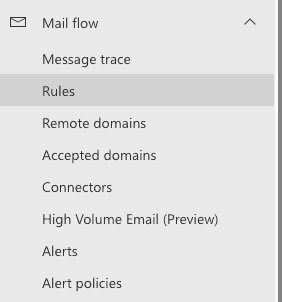
- Click ” + Add a rule” to begin the creation process.
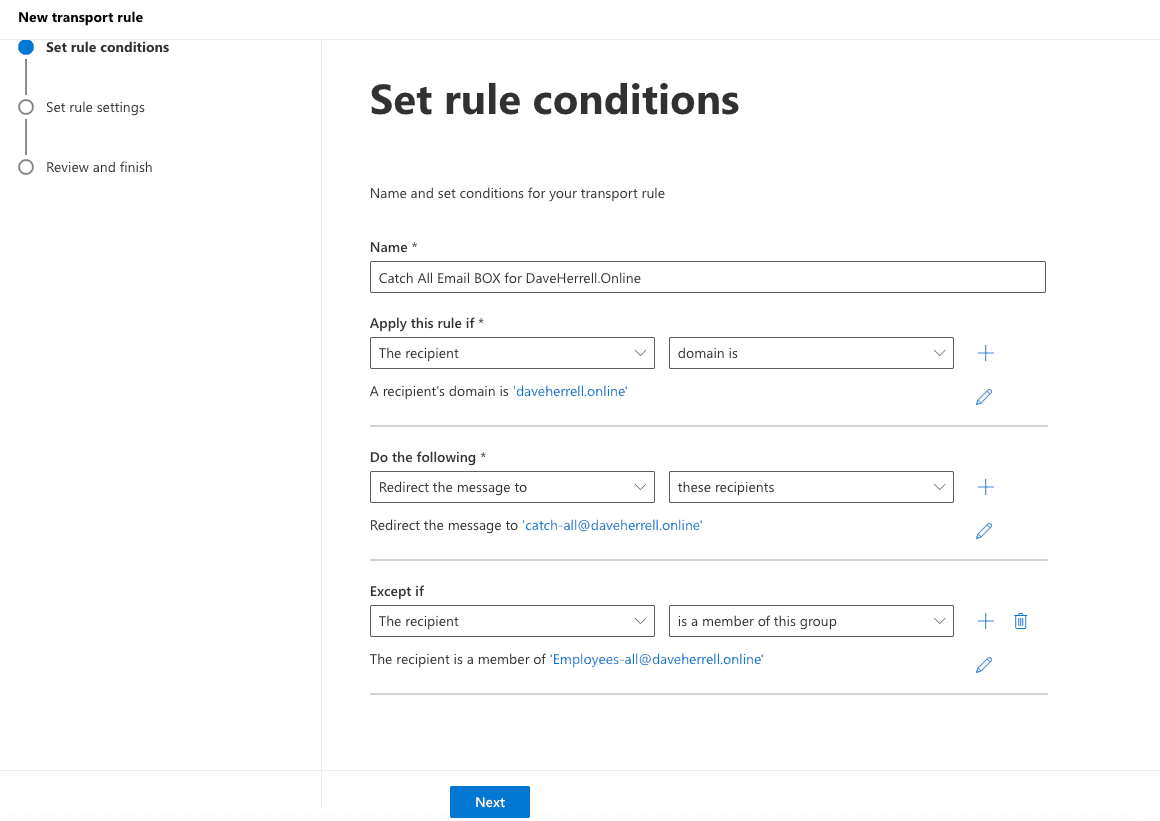
- Configure Rule Settings:
- Name: Give your rule a descriptive name.
- Apply this rule: I have chosen “The recipient is part of the daveherrell.online domain.”
- Do the following: Select “Redirect the message to,” and then specify the catch-all email box you created earlier.
- Exception: Add an exception if needed. In our example we’re going to ensure emails for members of the “employees-all” group are not redirected.
- Review and Finish:
- Review your rule settings and make any necessary adjustments. In our example we’ll simply leave the defaults.
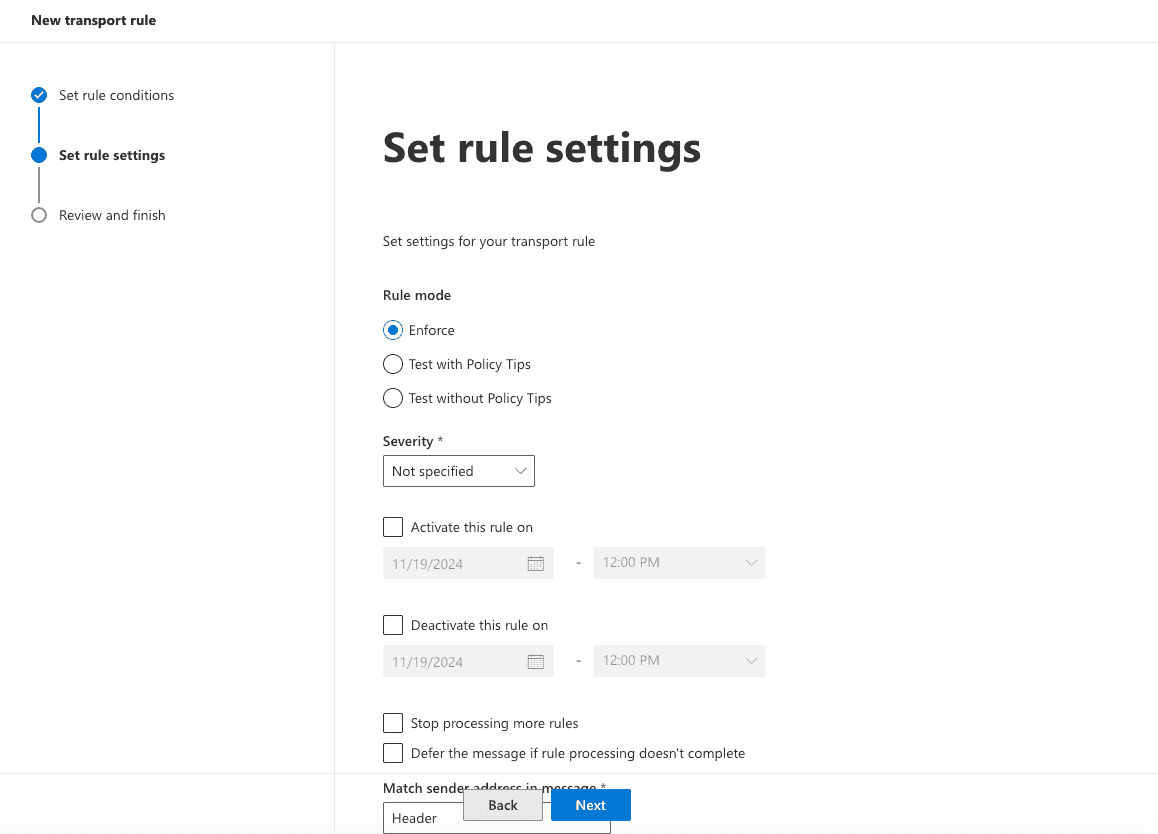
- Click “Next” to finalize the rule creation.
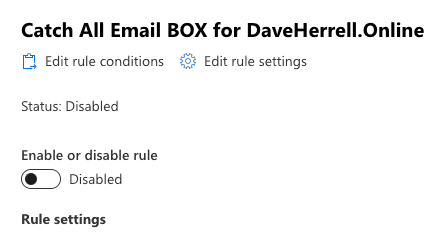
- Enable the Rule:
- Locate your newly created rule in the Rules list.
- Click the slider to enable it. By default, the newly created rule will be disabled.
Additional Considerations:
Enabling the rule alone won’t immediately activate it. You’ll need to make further modifications to your domain settings for the rule to take effect. While the mail flow rule directs emails, a further configuration step is required for your domain to accept all incoming messages. Here’s how to achieve this:
- Locate Accepted Domains:
- Within the Exchange admin center, navigate to the Mail flow section.
- Under Mail flow, select Accepted domains.
- Configure Your Domain:
- This screen displays a list of all the domains enabled in your MS365 environment. Locate the specific domain you want to implement the catch-all functionality for.
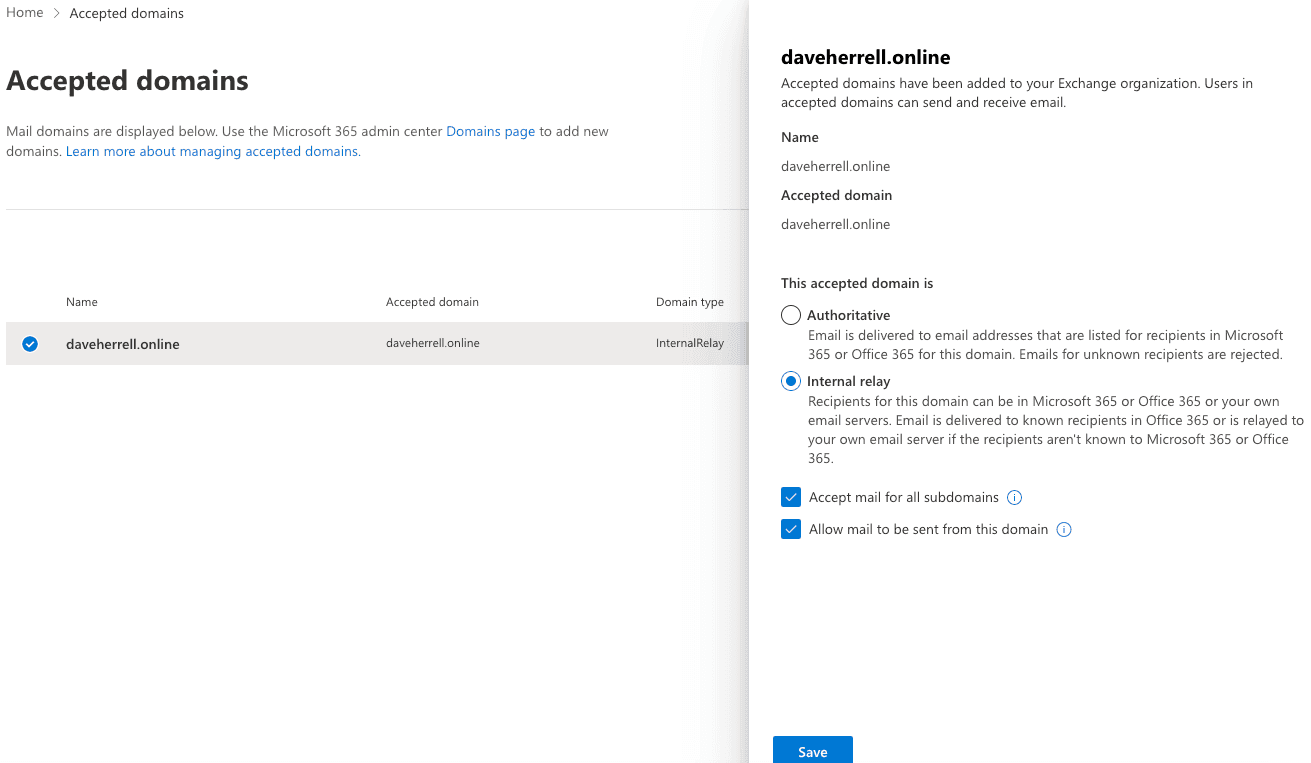
- Enable Internal Relay:
- Click on the chosen domain name. This will reveal its settings.
- Find the option labeled “This accepted domain is:” and ensure it’s set to Internal Relay.
- Verify the checkbox for “Allow mail to be sent from this domain” is still enabled (it can sometimes become unchecked).
- Subdomain Acceptance (Optional):
- Decide if you want to accept emails from subdomains within your main domain. For example, this could include addresses like “tools.daveherrell.online” or “windows.daveherrell.online.”
- Save Changes:
- Once you’ve reviewed and adjusted the settings, click Save.
Catch-all Rule is ready to go!
By completing these steps, you’ve configured your domain to accept all incoming emails, regardless of whether the recipient exists in your employee list or groups. The mail flow rule you created earlier will then direct any emails not addressed to members of the “employees-all” group to your designated catch-all mailbox.
Small Warning!
While useful, a catch-all mailbox can also lead to an increased influx of spam and unwanted emails. To mitigate this:
- Implement strong spam filters.
- Utilize email rules and tagging within the catch-all box.
- Regularly monitor the mailbox and route legitimate emails to appropriate recipients.
- Periodically review whether the catch-all mailbox is still meeting organizational needs effectively.
I hope you found this helpful!
![]()